I started off with my door models with the UV's already done so I went into my transfer map sub menu and set up my baking options so I could bake my door. I had to tick the Ignore Mirrored Faces box so that it would ignore the overlapping faces in the UV map.
Instead of making a full AO map I instead made a cavity map in Xnormal due to the fact it gave sufficient shadow information that was needed. This is done in the same way my AO map was done but instead of ticking the Ambient Occlusion box you have to click the Cavity map box.
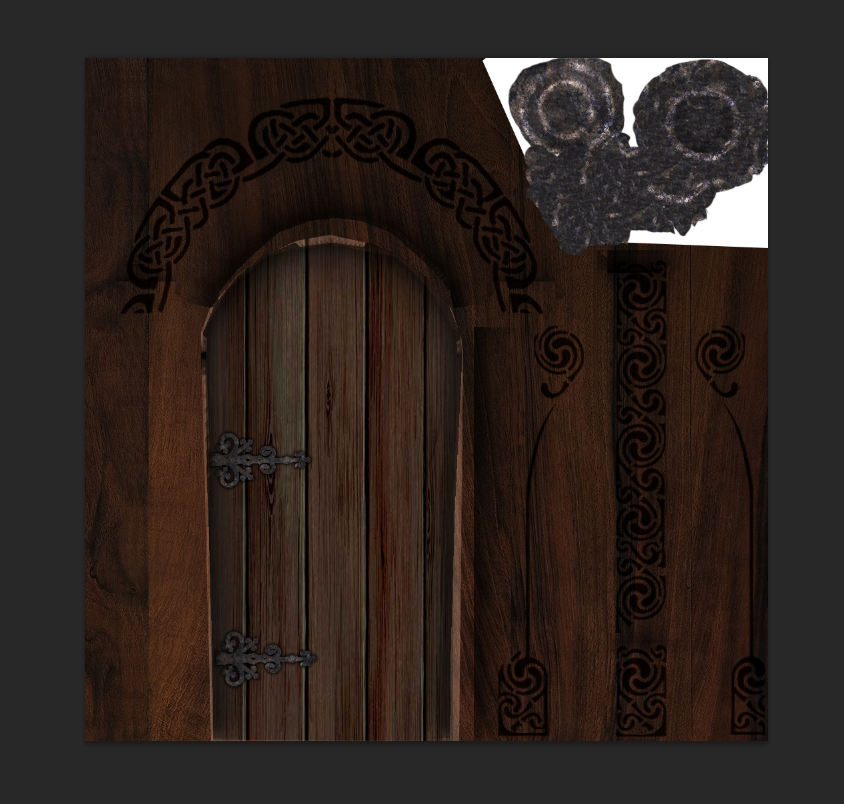
Then I had to put my cavity map into photoshop to texture. I started off texturing the door frame and pillar once i'd done that I textured the door with a different wood texture and made it darker so it added a better effect in Maya.
I then found a nice celtic pattern I liked on the internet and added it to the texture and turned the layer fx to inner shadow so it added a better effect to the texture.
I then applied a stone texture to the door handle and found some fancy looking hinges to apply to my texture to give it better detail and gave the hinges the same stone pattern as the handle so it gives it a much better effect.
The normal map had to be assembled in a different way, I had to get the base wood texture and apply a surface blur and copy and paste it to overlay and add a more detailed look to the wood. As soon as i thought the amount of detail I wanted was there I stopped doing the process.
After I had done all of this I applied all of my textures to the door and just had to go back to make the wood look better an have the grain go the right way and once I'd fixed that issue I had finished and saved my door.


No comments:
Post a Comment